How to Install an Integrated Grommet and Ring…by Ning Bags

DSCN2882_Fotor_Collage DSCN2904

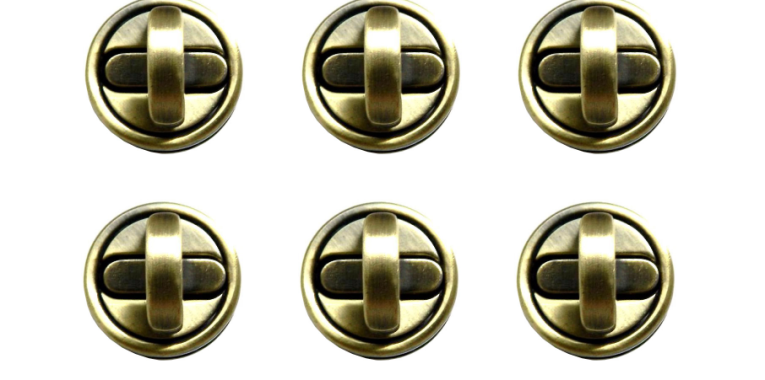
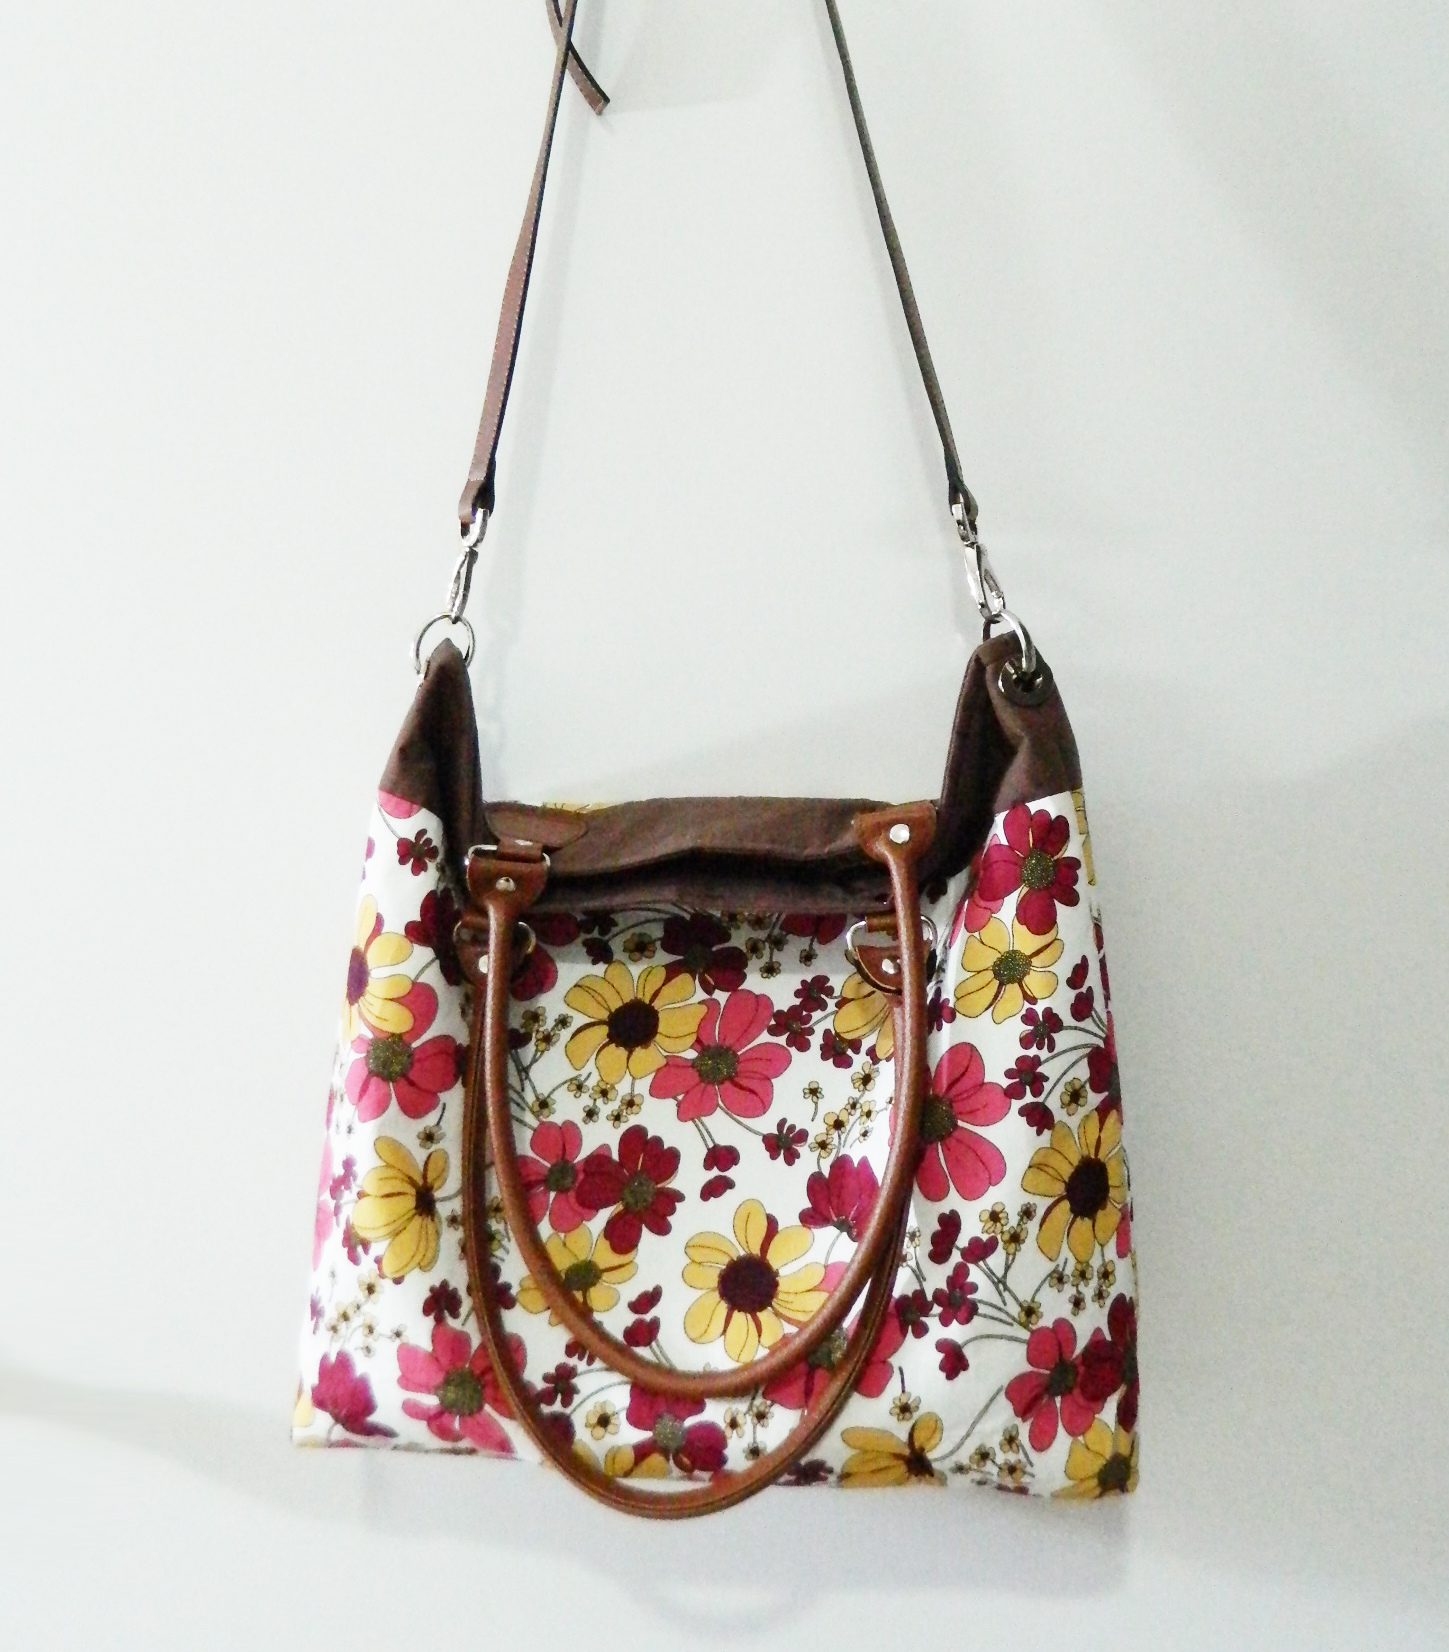
This integrated grommet and ring is a unique and stylish piece of handbag hardware that can be used with any handbag or tote made from leather or fabric up to 4 mm thick. With a strong, quality metal finish, this integrated grommet and ring will definitely give your project a distinctive look and the perfect finish touch! Just follow the instructions below to install the integrated grommet and ring.

***While the following instructions show how to install the integrated grommet and ring on fabric, you can also apply these directions to leather projects. ***

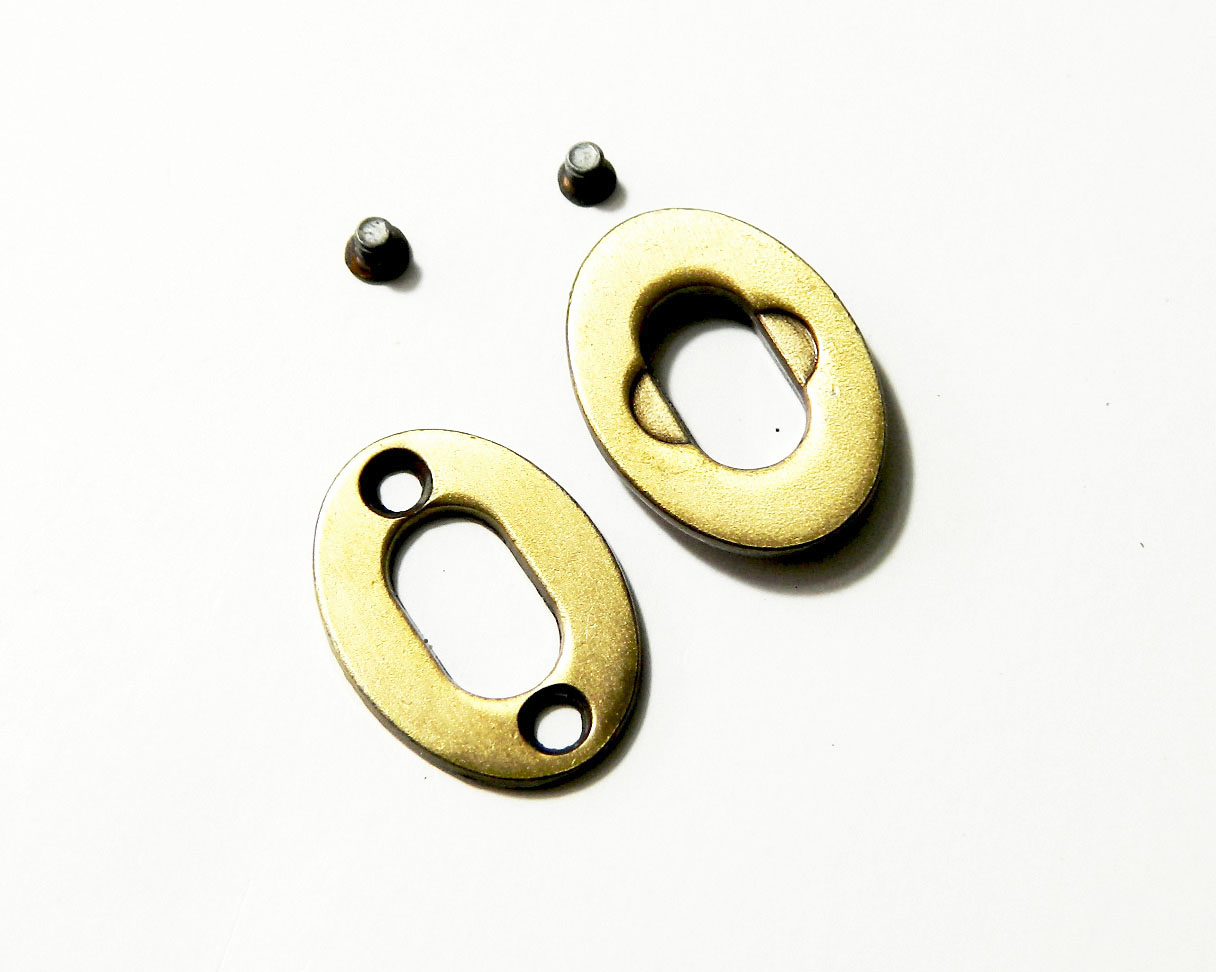
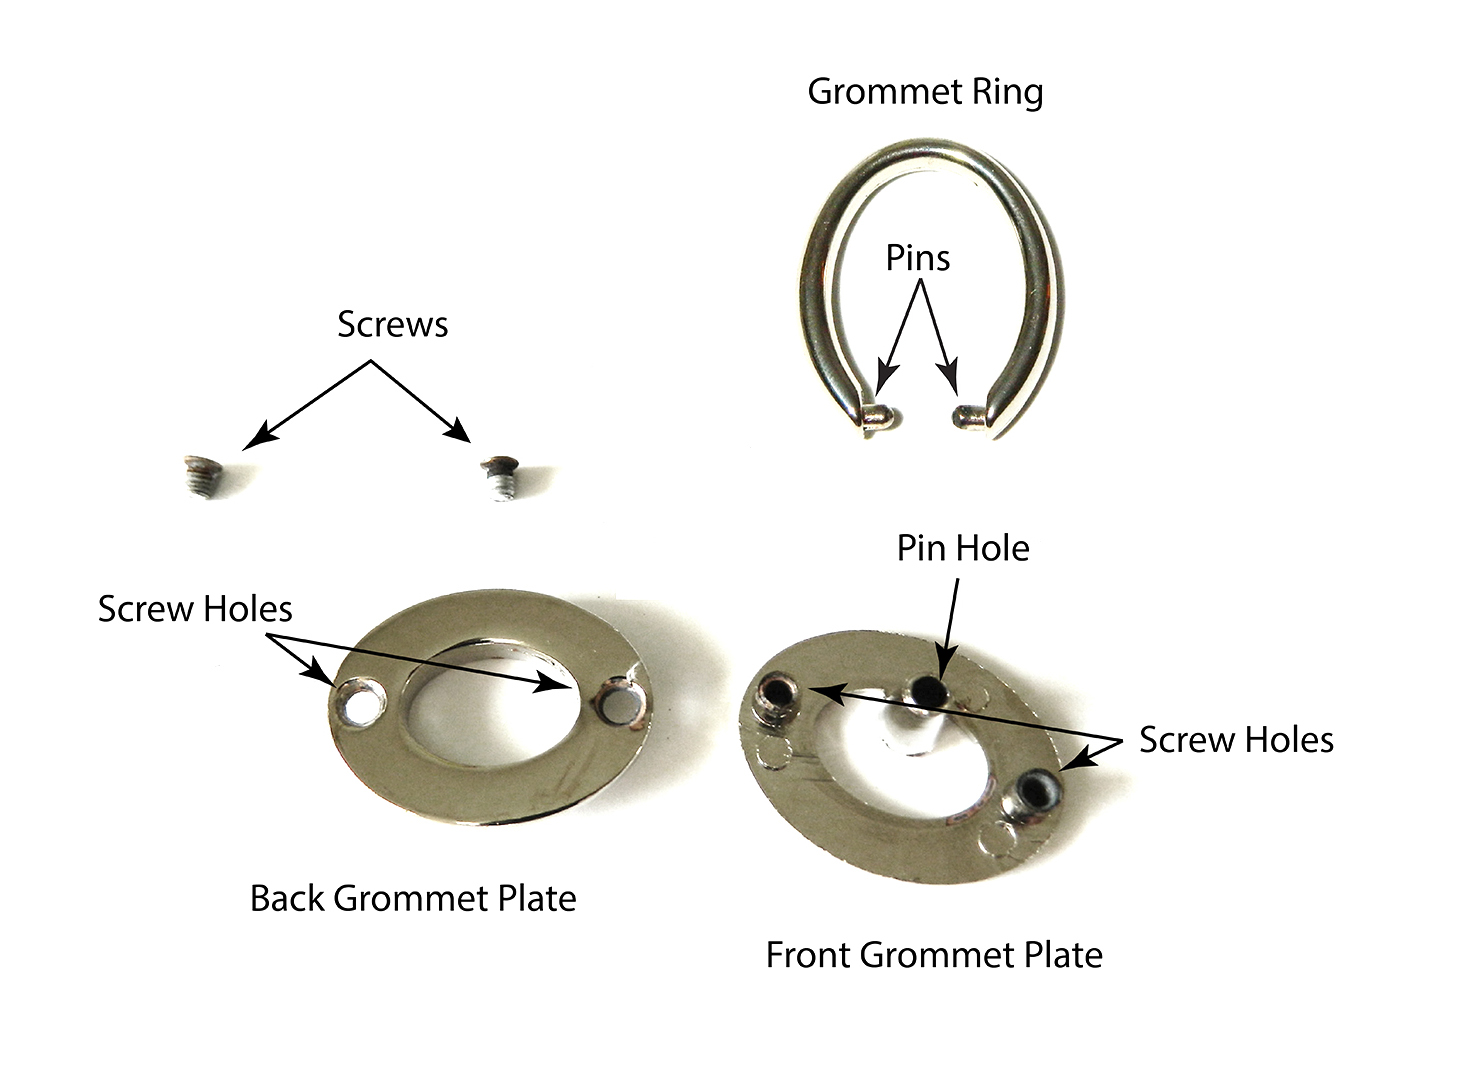
  1. First you need to prepare a small 1×20 mm screwdriver and a set of Integrated Grommet and Ring.

Grommet1

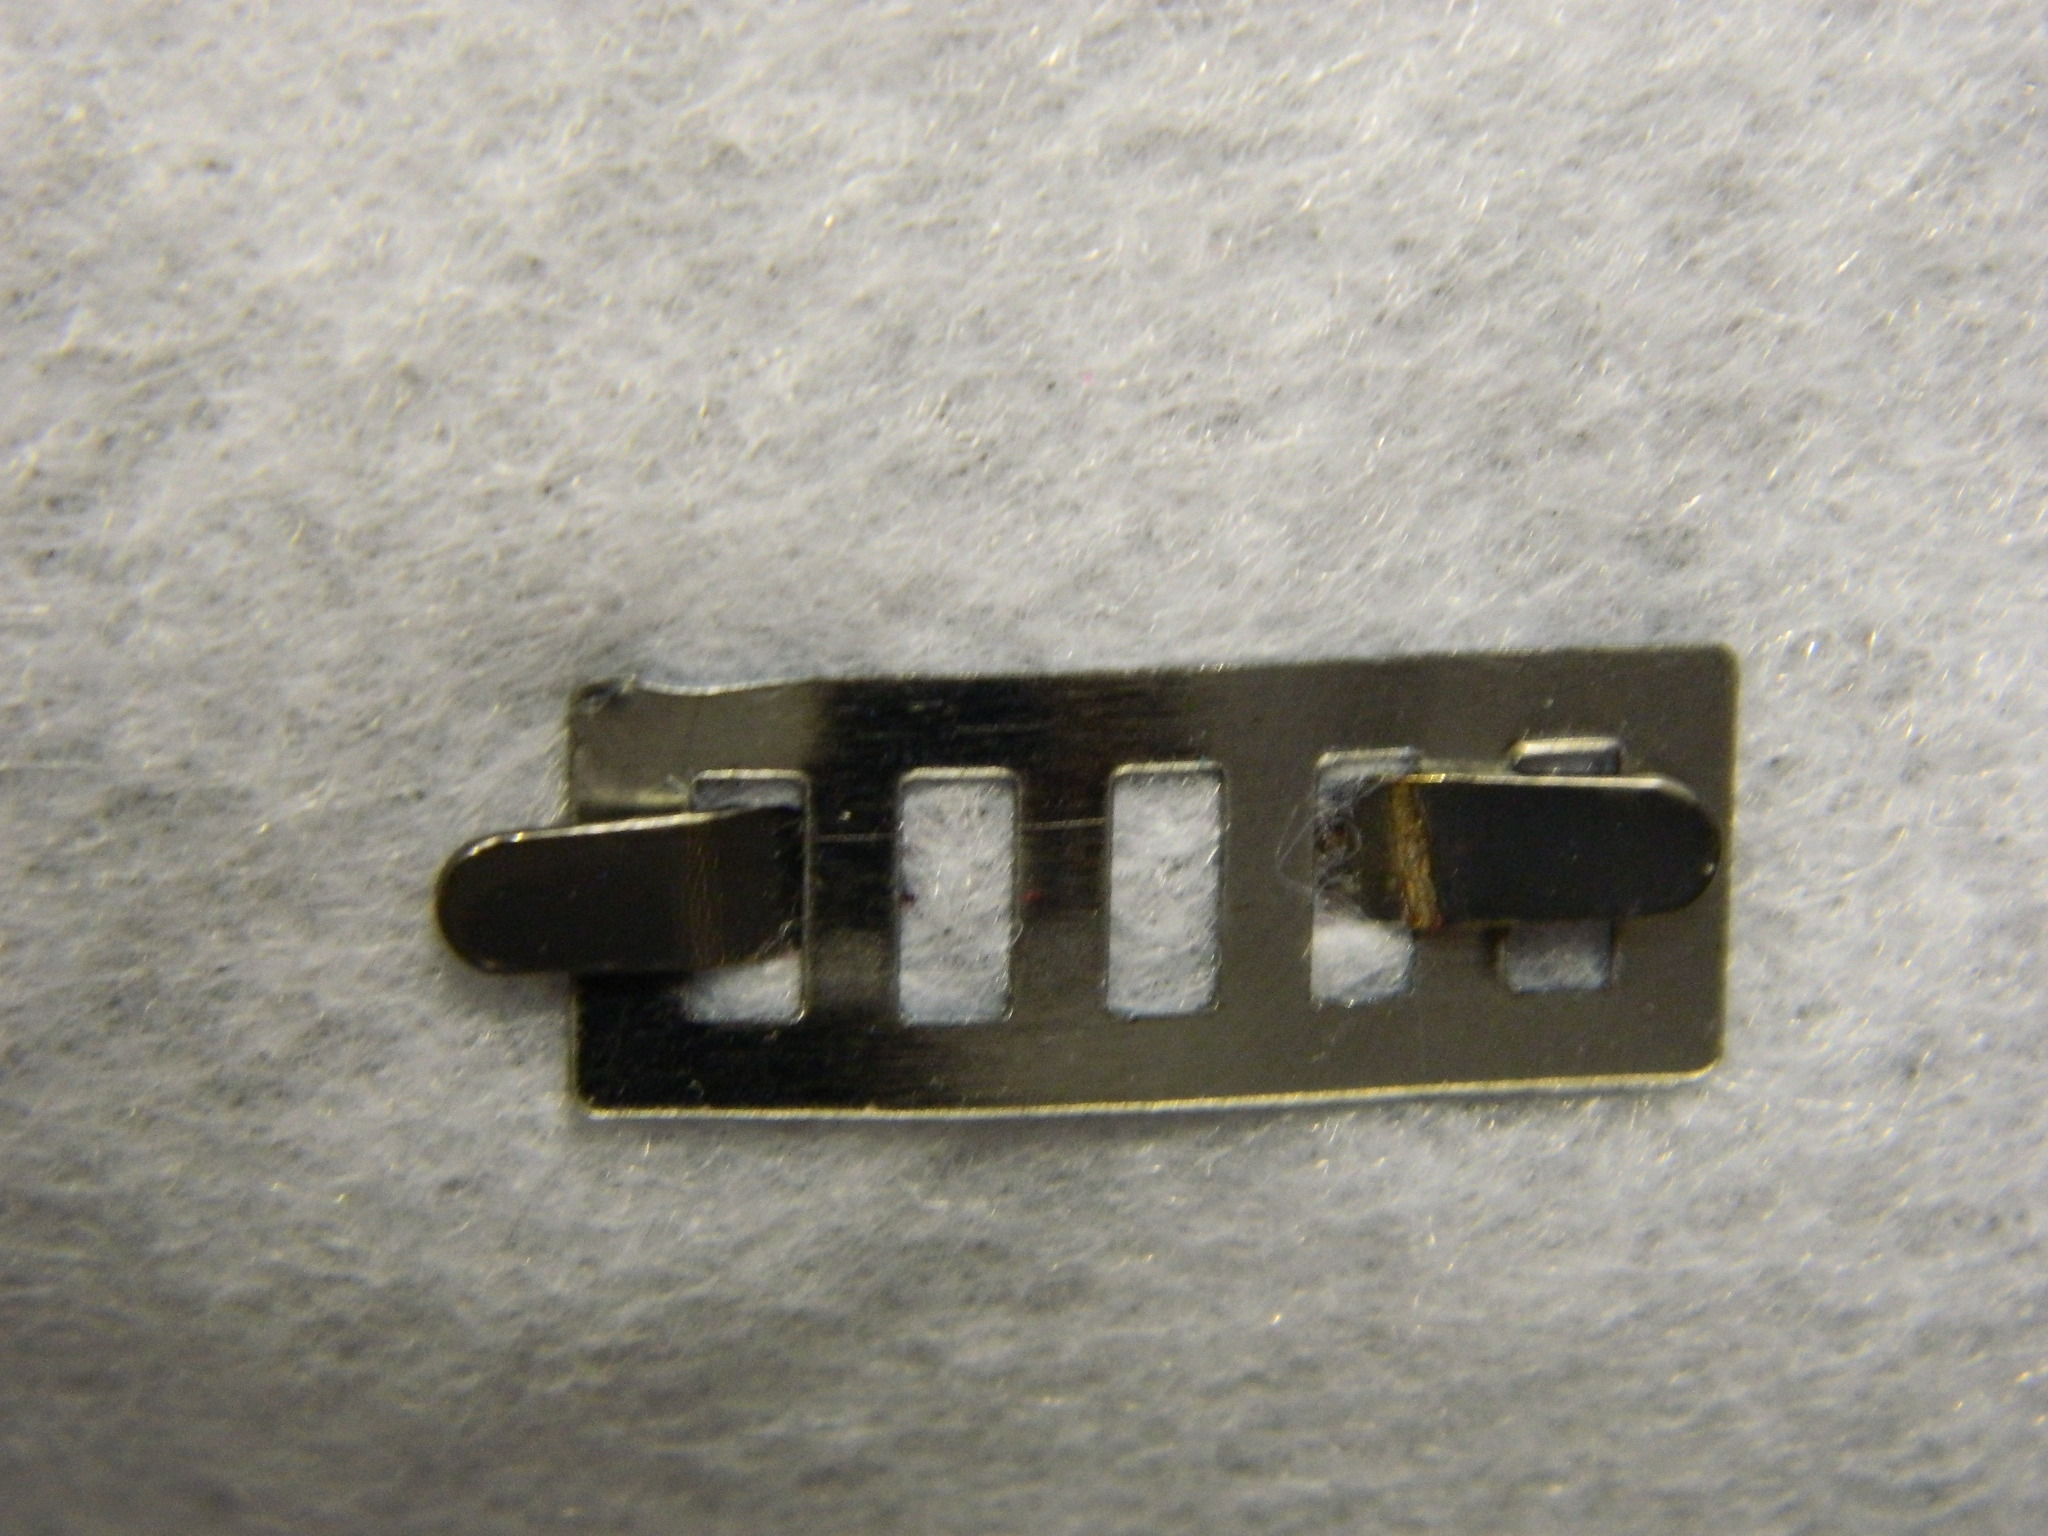
2. Take apart the grommet plates by removing the small screws. The back grommet plate has 2 threaded holes and will be on the inside of your bag, while the front grommet plate without these threaded holes will be on the outside of your bag.

Grommet
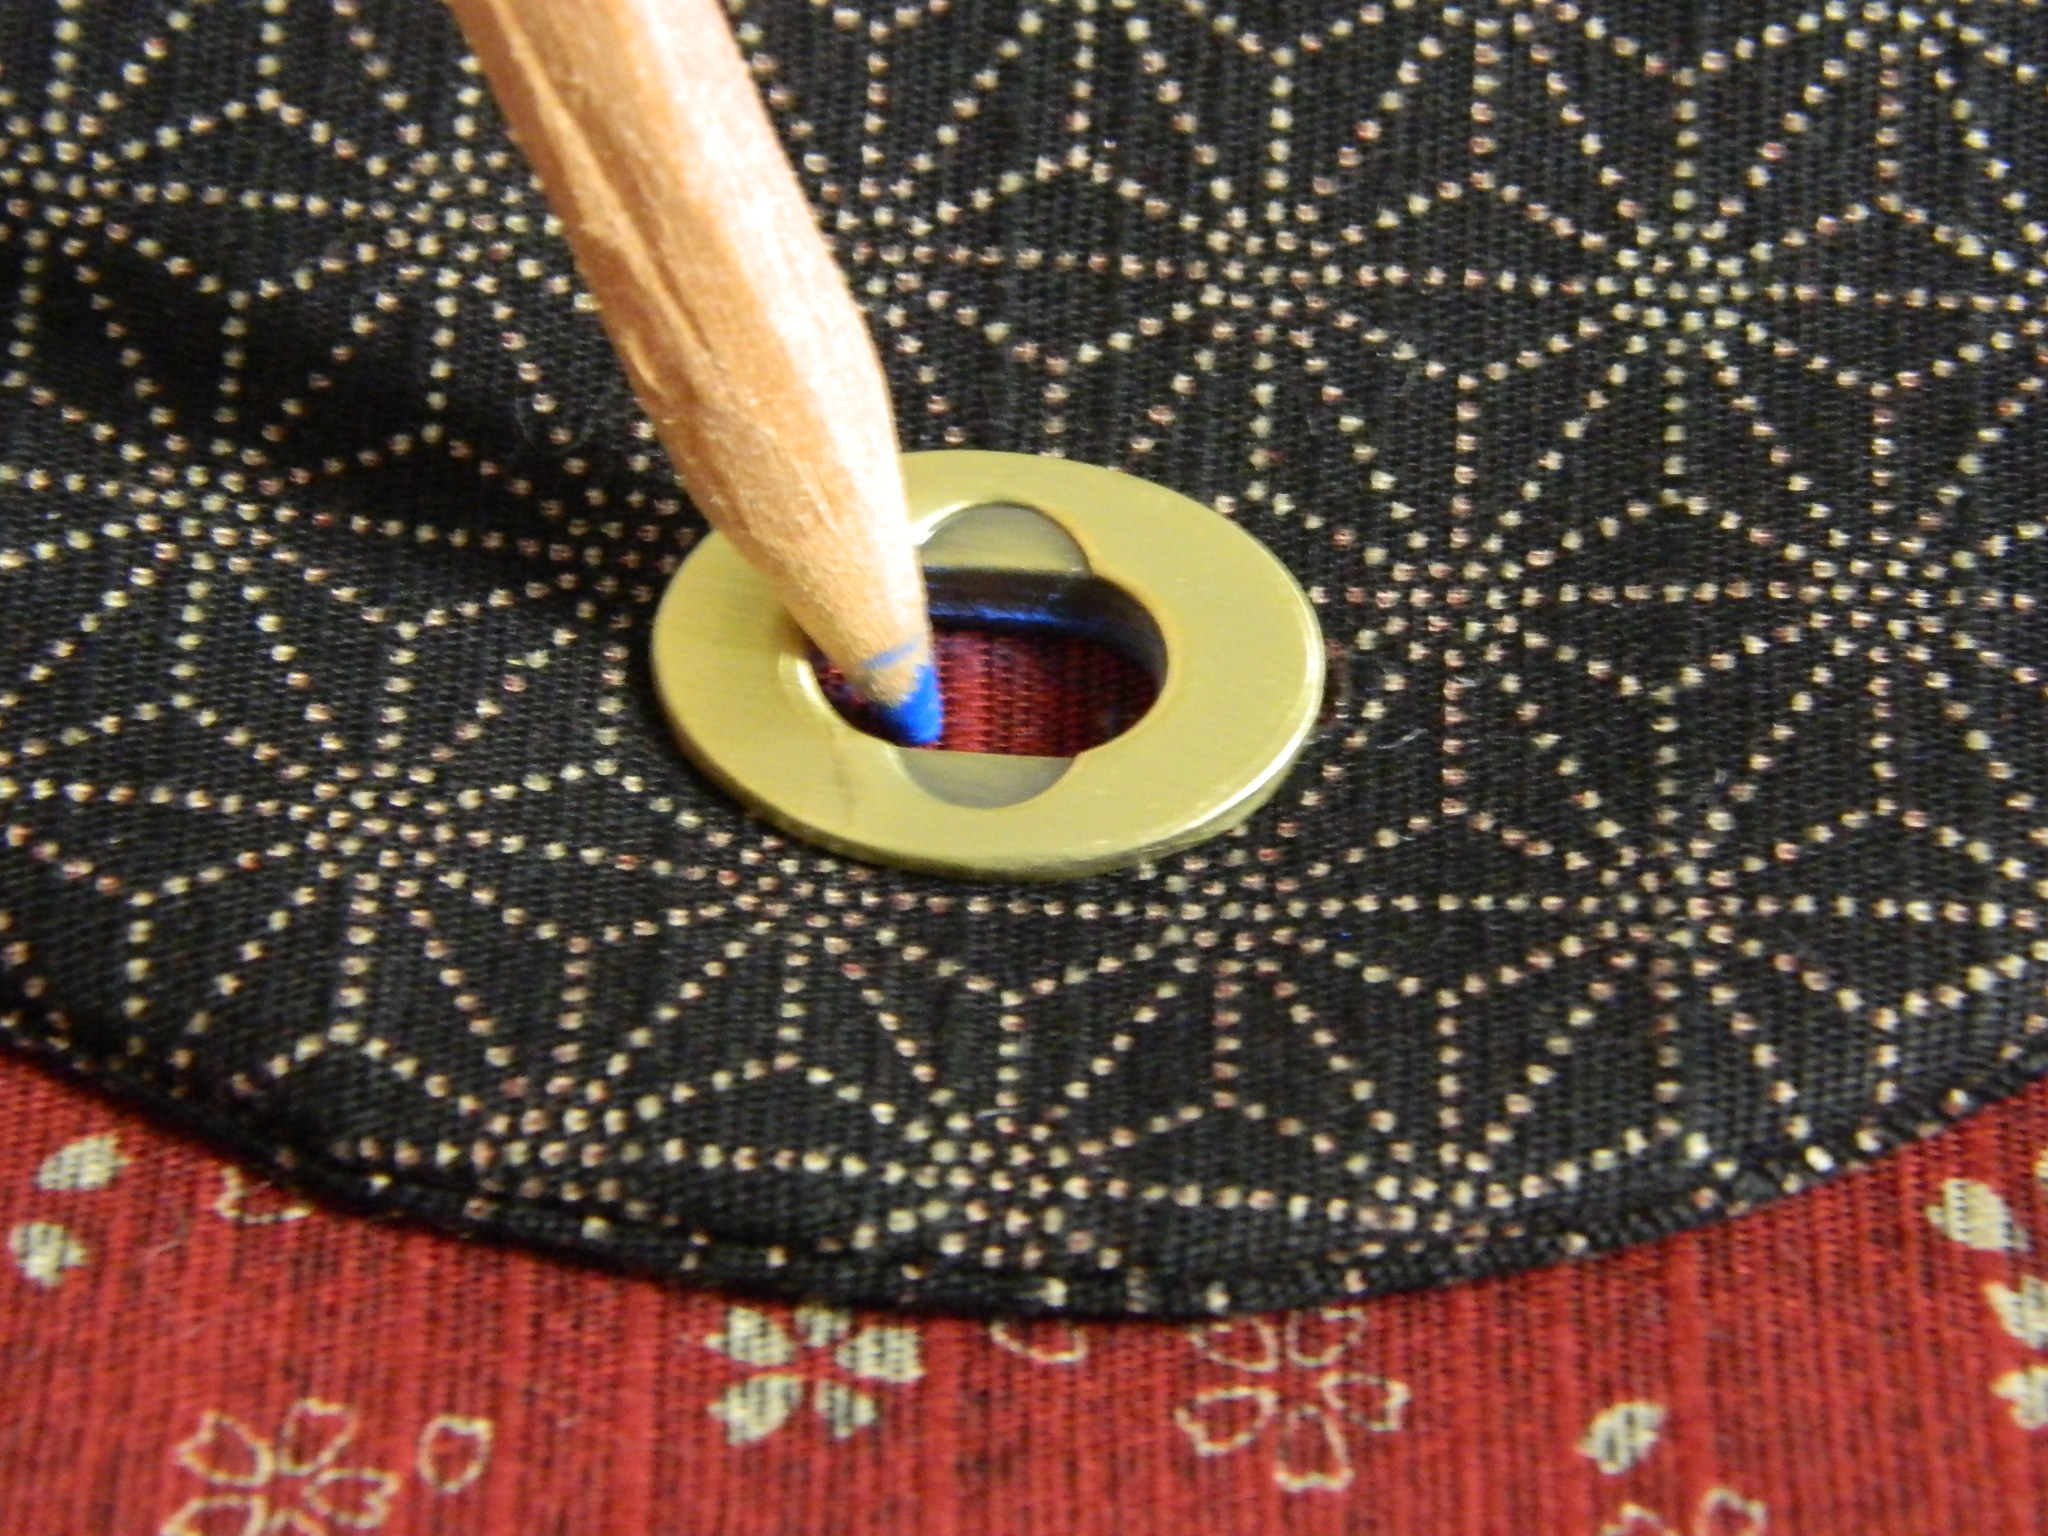
3. Determine the initial position of the grommet by aligning the back plate with your bag, leaving about ½” from the top edge. Use a fabric pencil and trace the inner opening of the plate onto your bag fabric to help you in the next step.

DSCN2869

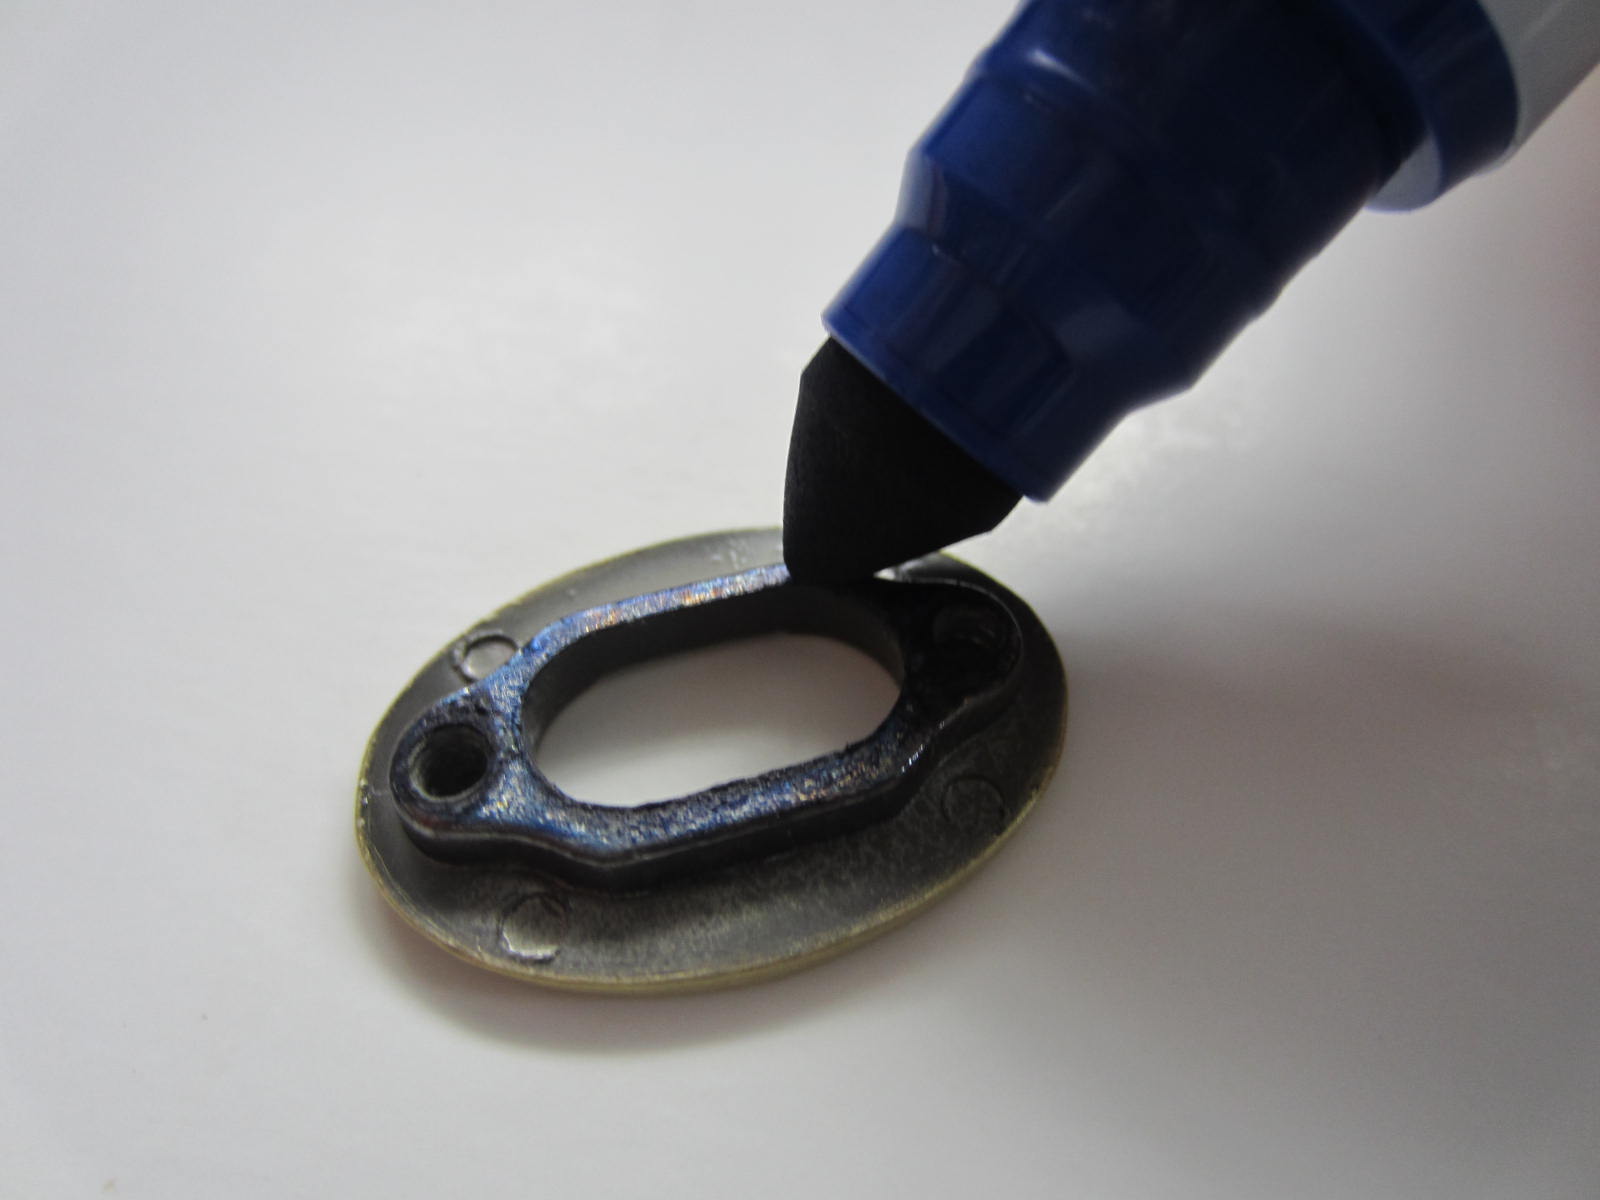
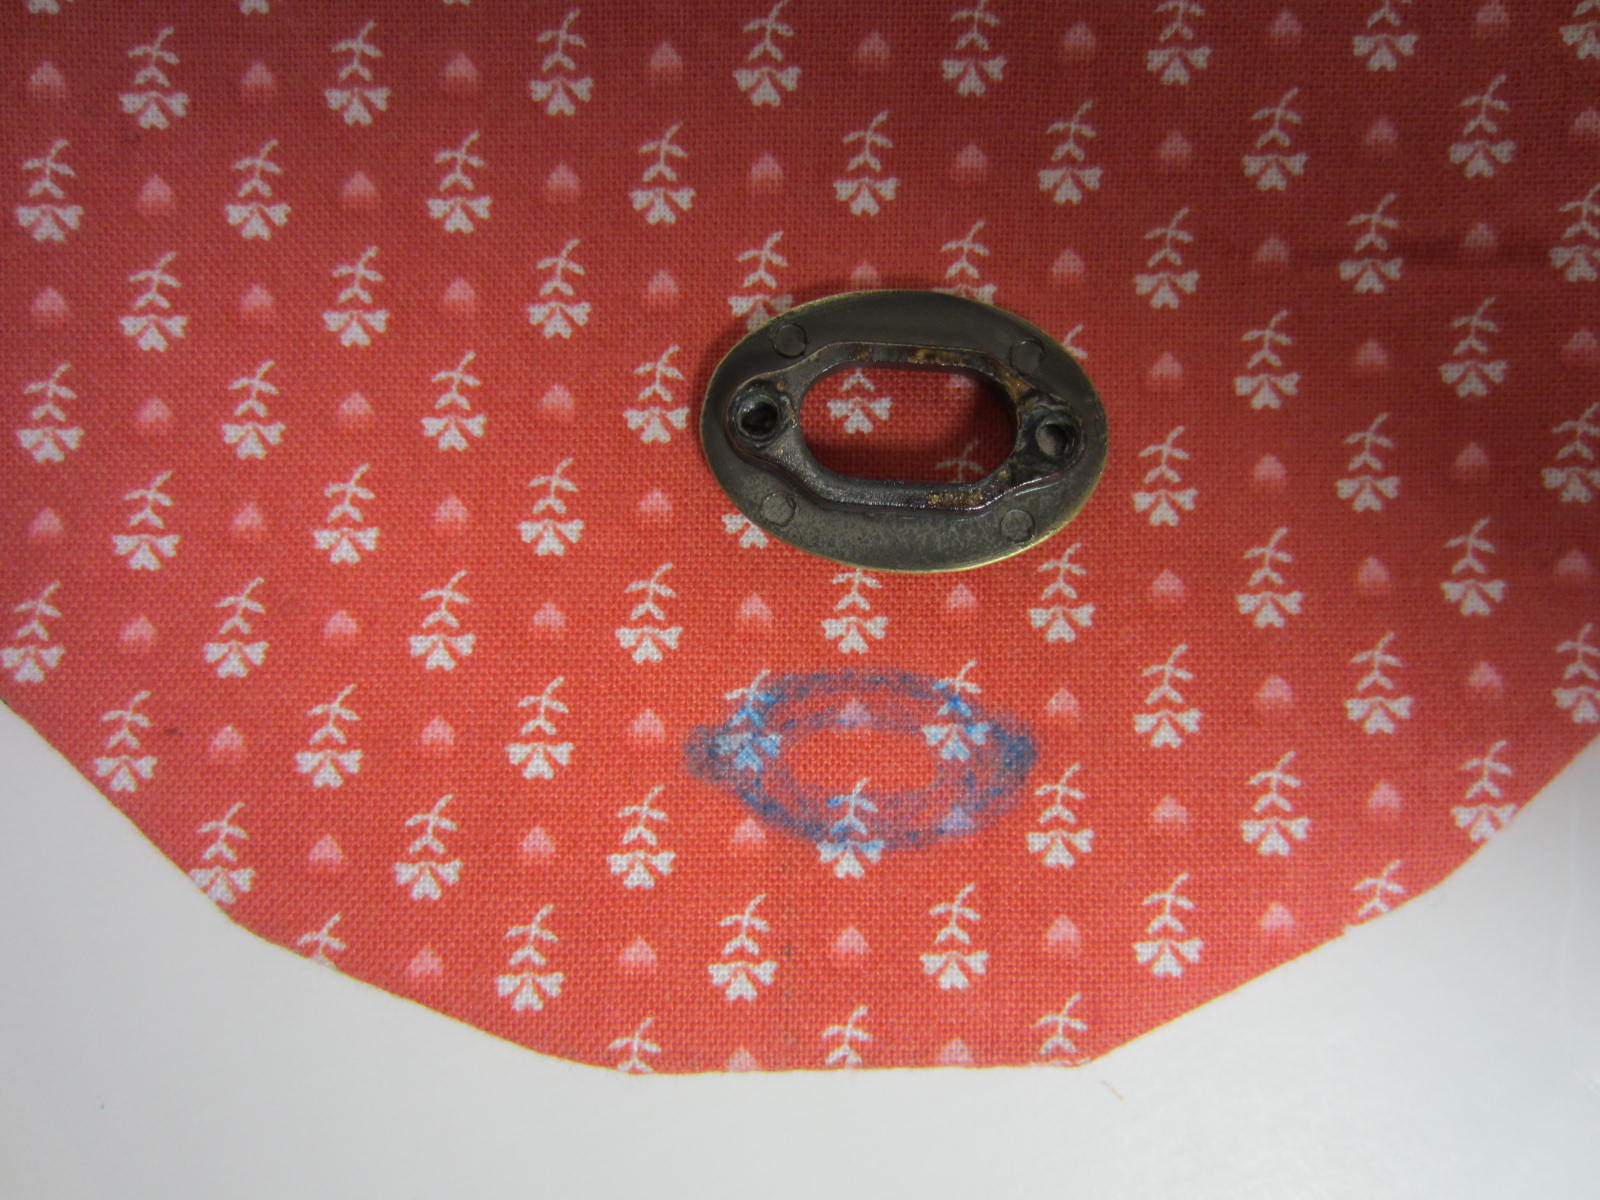
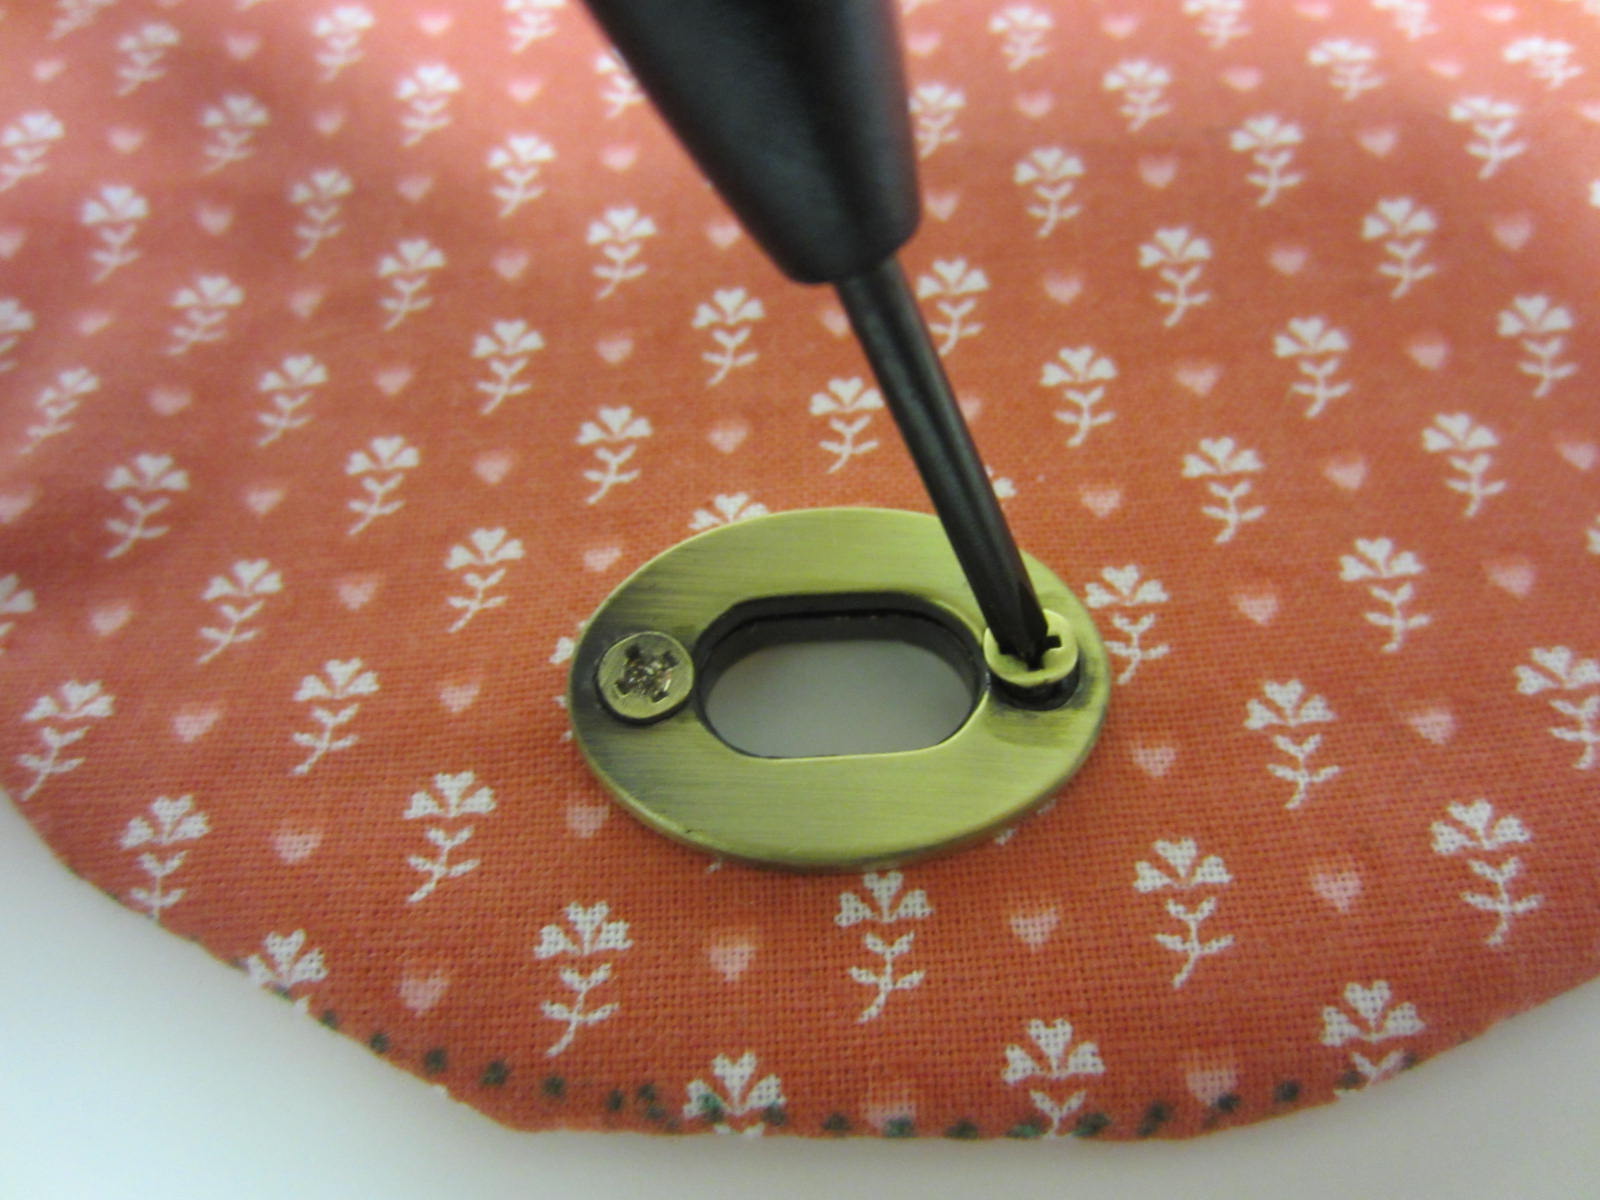
4. Use a magic marker and ink the rounded raised lip of the back plate.

DSCN2886

5.Press the inked back plate into the fabric with your fingers to mark the correct grommet position on your bag.  Also mark screw positions at this time.

DSCN2887

DSCN2889

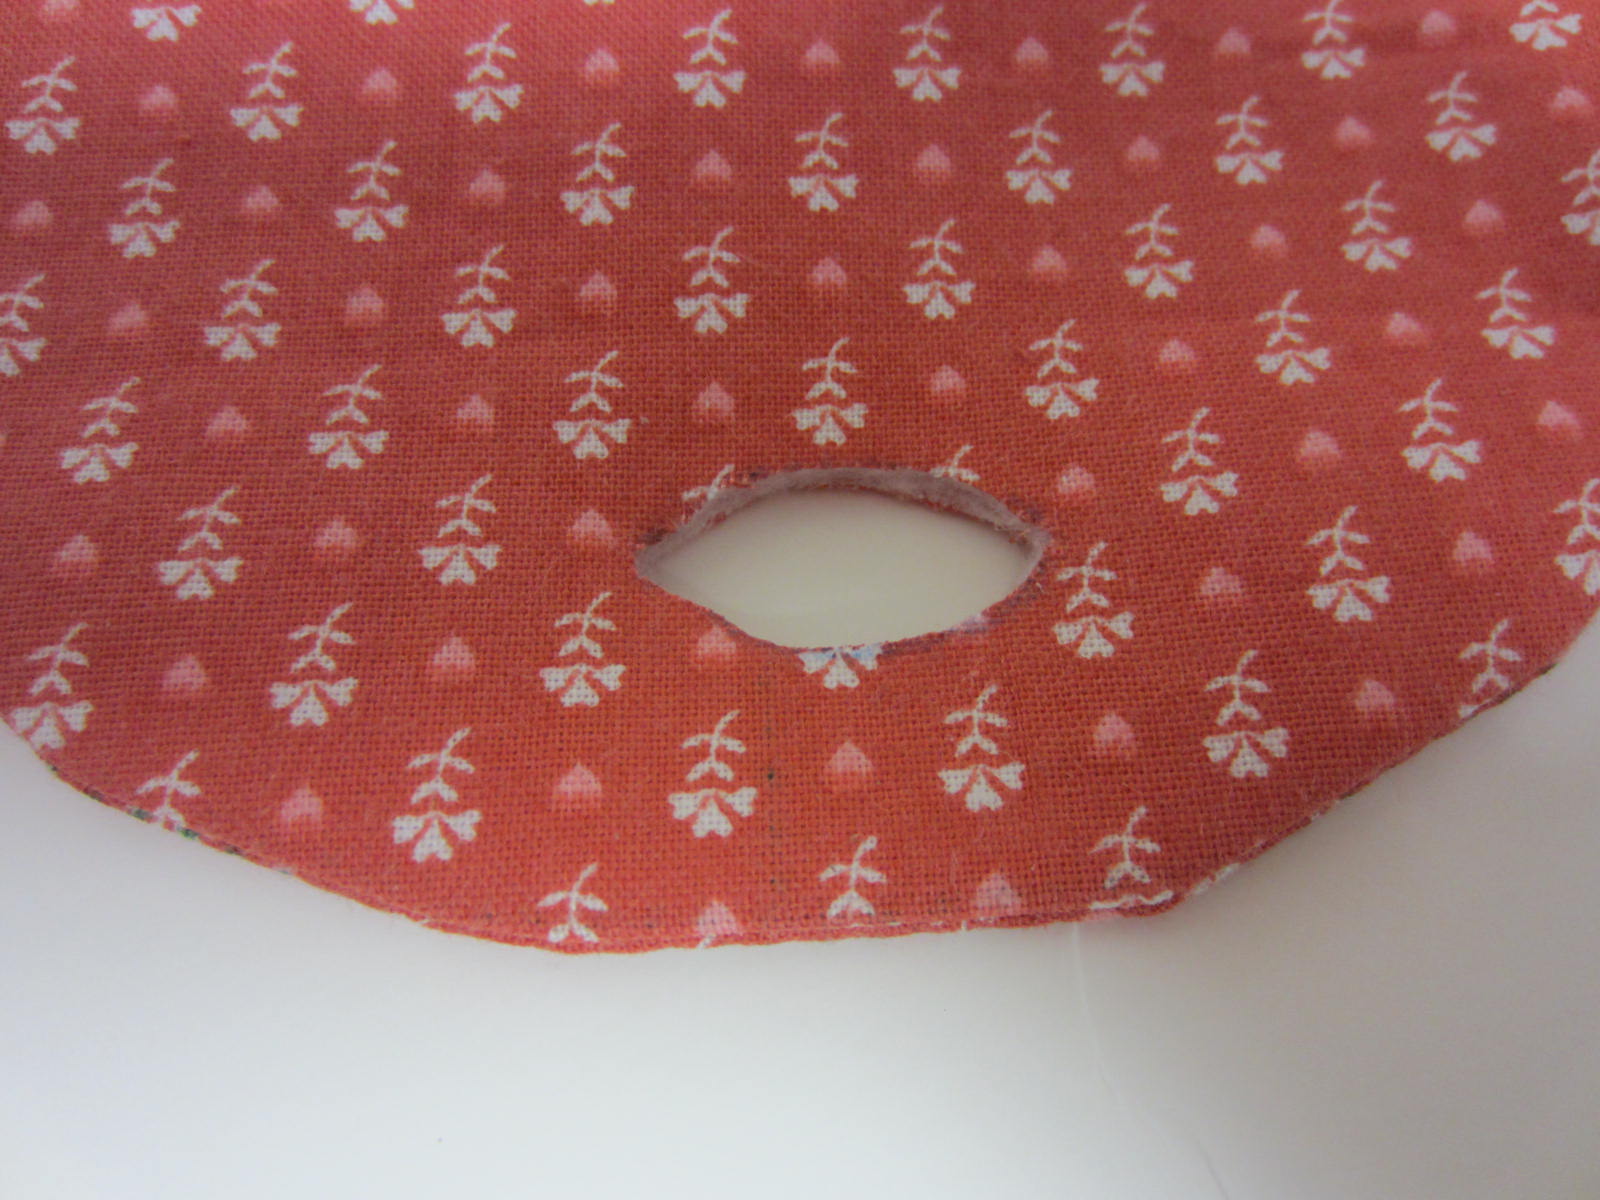
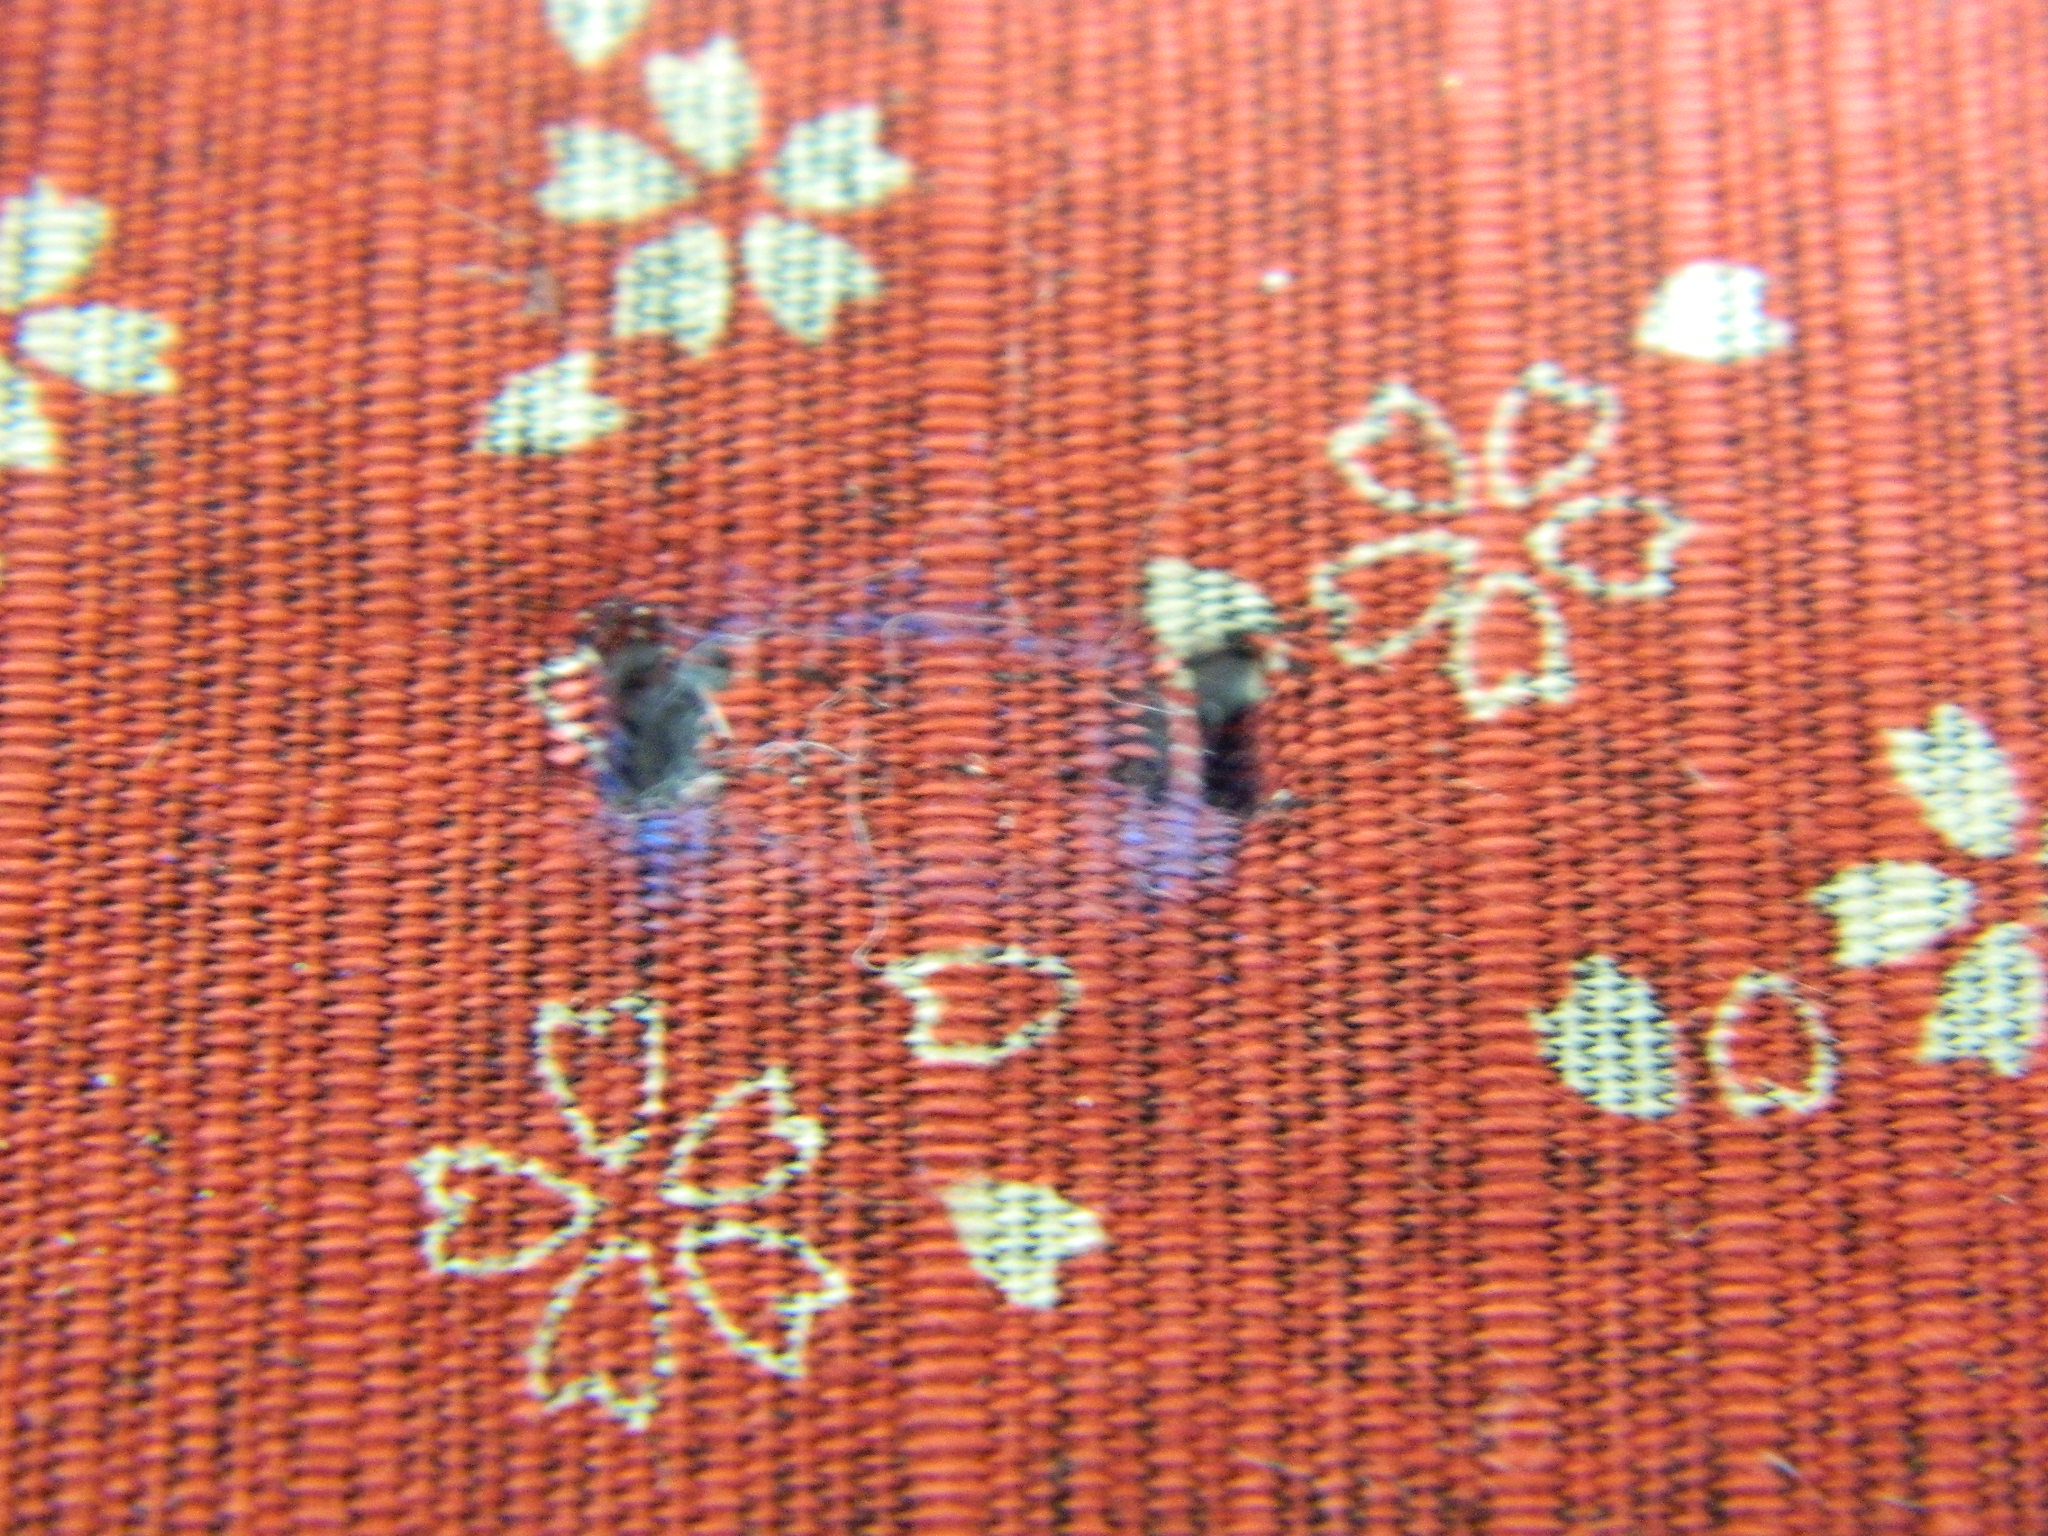
6. Carefully cut a hole along the marked raised lip line using small sharp scissors. Be careful when cutting the hole.

DSCN2891

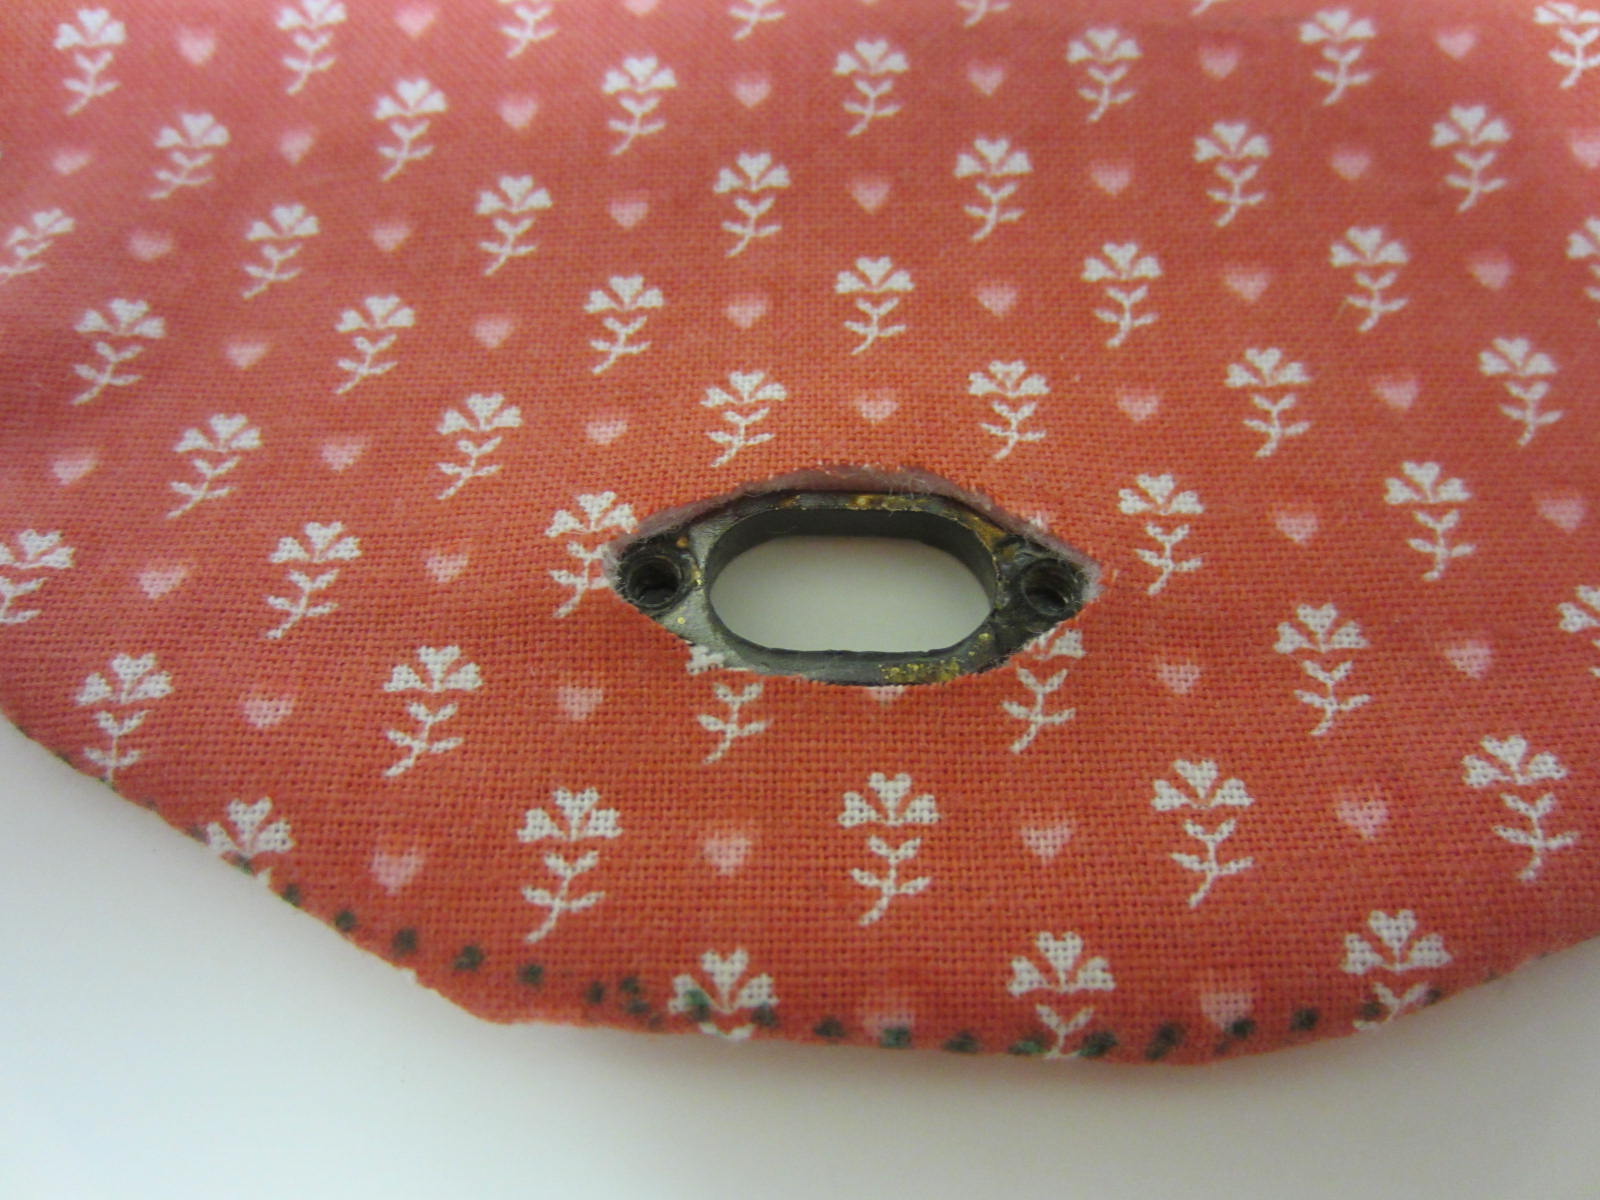
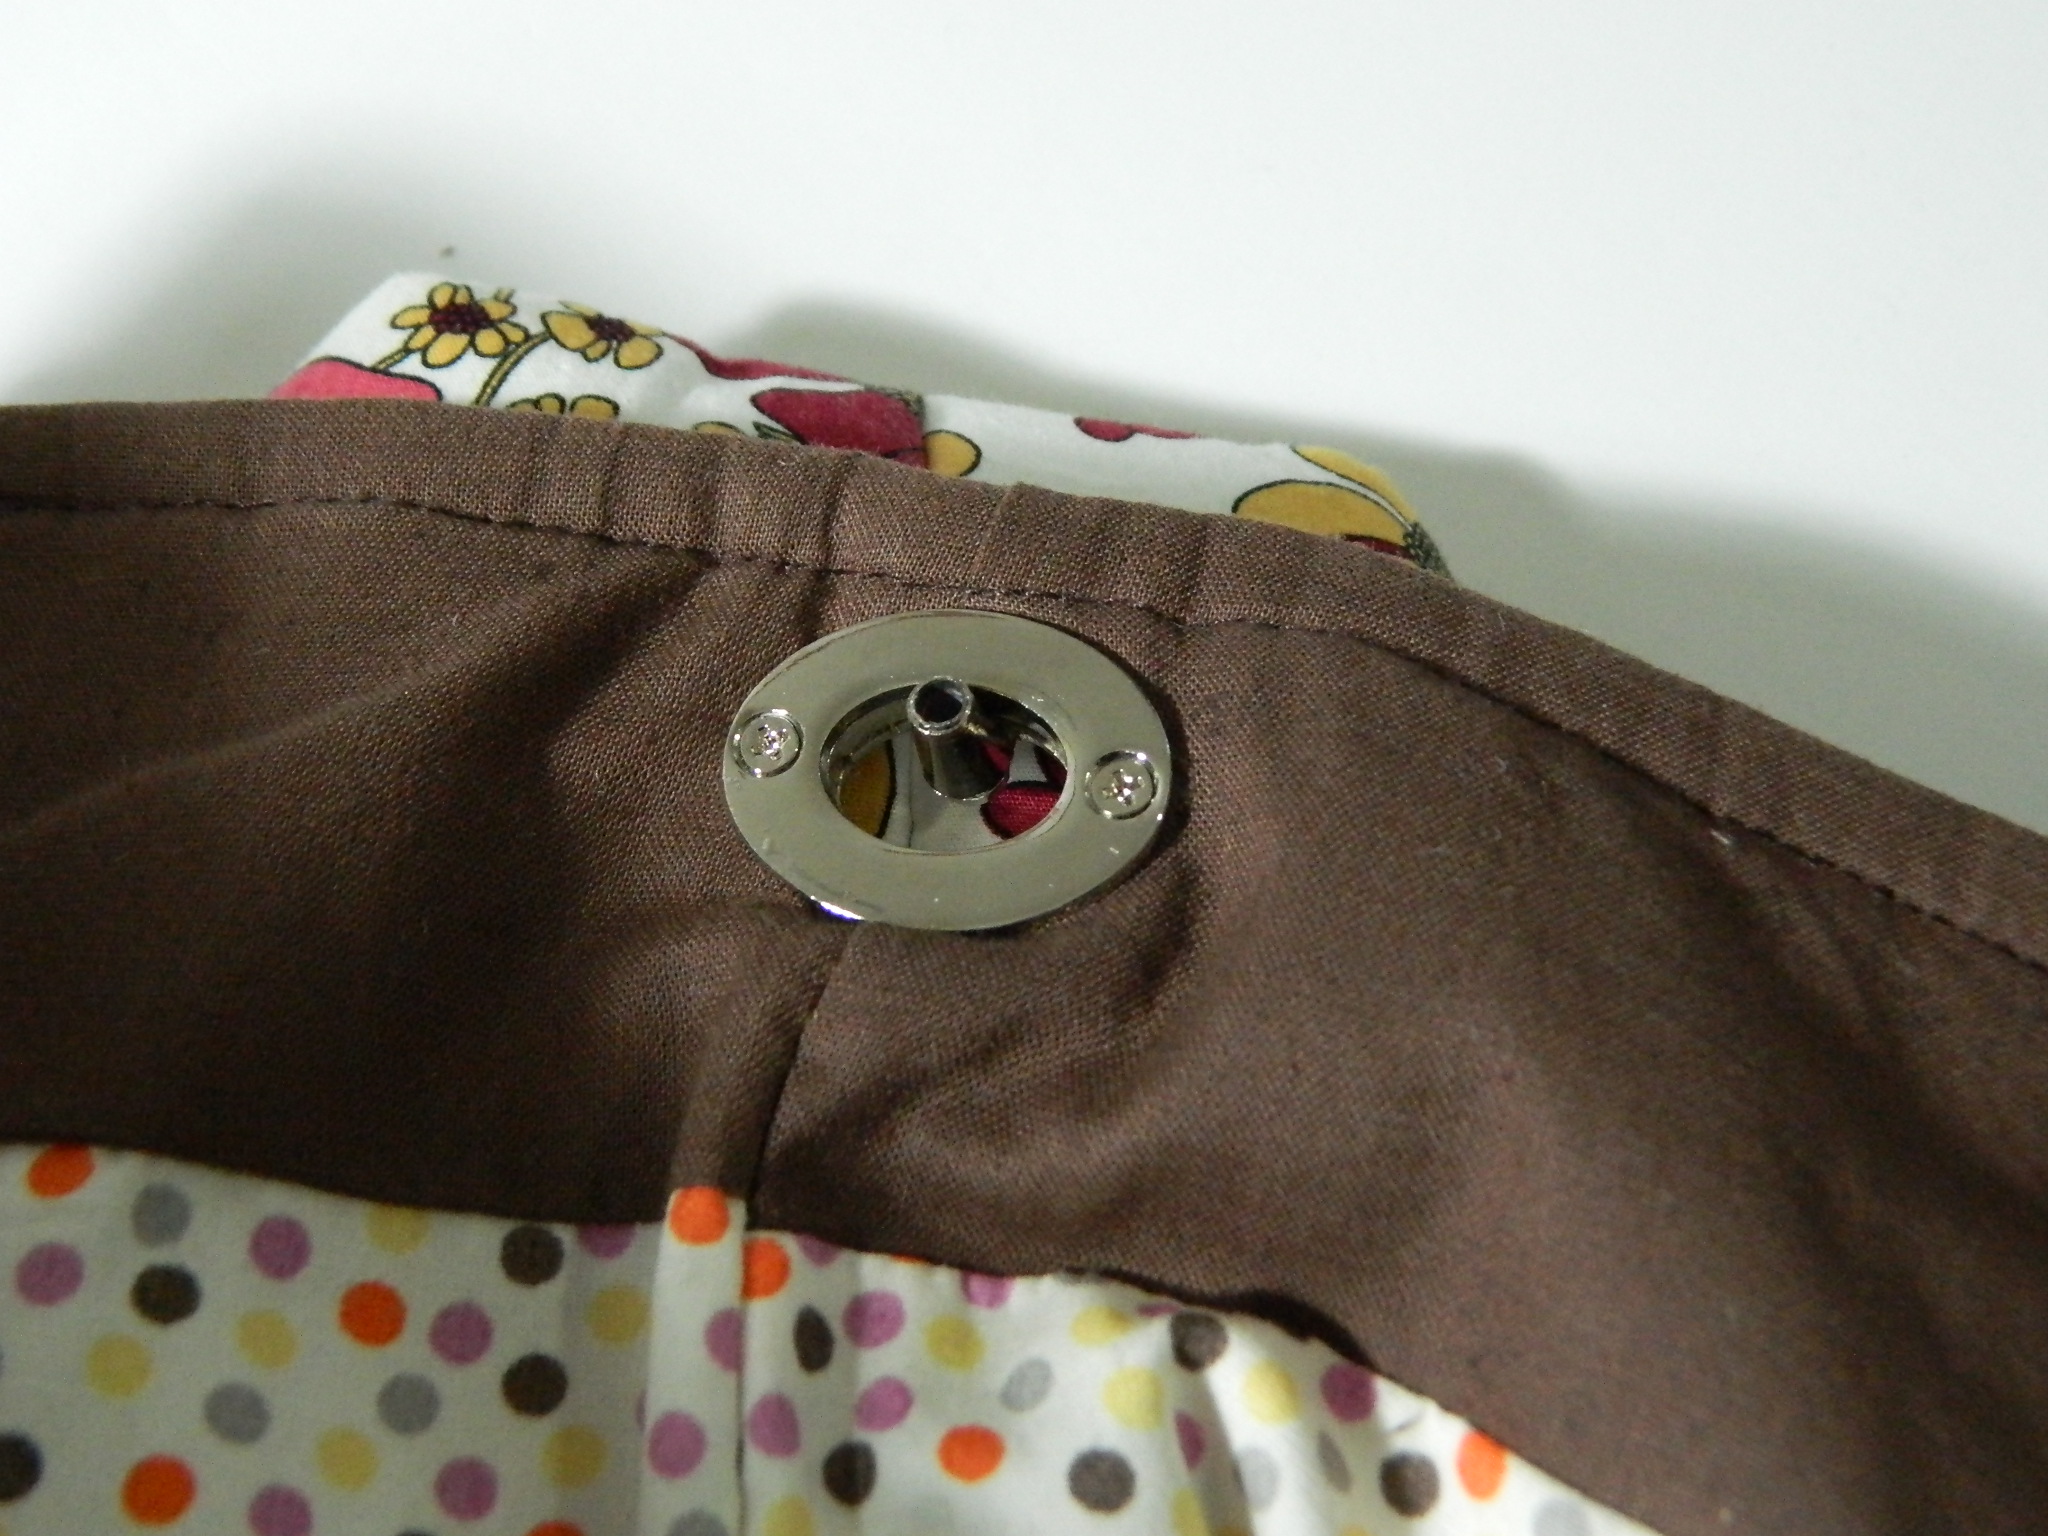
7. Assemble the grommet by screwing the two plates together. Make sure the pin hole on the plate is positioned toward the top of the bag.

DSCN2877DSCN2894

8. Slide the ring into the inner opening of the grommet.

DSCN2896

9. Insert the first pin into its hole on the back plate side. This will insert easily. Turn the grommet over and pull the other pin into its hole on the front plate side. This will be more difficult. Use steady pressure to pull the ring apart until the pin seats into its hole.

DSCN2897DSCN2898

DSCN2882

DSCN2905

DSCN2904

You can find this Integrated Grommet and Ring and other hardware for your bag project at  www.ningbags.etsy.com 

Thank you for stopping by!

How to Install the Twist Lock on Your Bag!

To secure your bag’s contents, a sturdy closure is a must. Twist Locks or turn locks are another popular choice of  handbag closures. They can make your bags look professional also will be perfect finishing touch for any stylish handbag. To install the purse turn lock or twist lock is very easy. Just follow the following steps.

A: Insert the Twist Lock Plates

1) Remove the screws from the twist lock plate and separate. The section with screw holes is the back plate and will be placed on the back of the flap.

DSCN2809

2) Use a magic marker and ink the rounded side of the back plate. Mark all areas including the lip and outer side of the screw holes.

IMG_0792

3) Mark the twist lock position on the backside of your bag flap.

IMG_0690

4) Press the plate with your finger by turn the inked side of the back plate onto your bag flab at the position that you would like to put the twist lock on.  This will create an imprint of the back plate on your bag flab. Cut a hole along the lip line using small sharp scissor. Be careful when cutting the hole. It should not be too big or too small otherwise the twist plate would not be secure.

IMG_0692  IMG_0693

5) Assemble by screwing the two halves of the twist lock plate together.

IMG_0694

B: Insert the Lock Turn Button onto the Main Body

1) Find the position of the lock turn button on the front of your main bag body by aligning the flap that already has installed the plates. Mark the lock turn button position through the hole in the twist lock plate on the main bag body.

Photo Mar 26, 12 26 43 AM

2) Take the lock turn button and press the prongs into the bag body. Mark the position of the two indentations created by the prongs.

Photo Mar 26, 12 31 49 AM

3) Use a stitch ripper and carefully slit into the prong marked position.

Photo Mar 26, 12 34 16 AM

4) Slide the prongs into the right side of the fabric, then slip the metal washer over the prongs on the wrong side. Press the prongs down and away from each other with your thumb.

Photo Mar 26, 12 36 31 AM  Photo Mar 26, 12 34 59 AM

twist lock clutch
twist lock clutch

You can find many styles of purse turn locks, other handbag hardware and bag patterns for your project at  www.ningbags.etsy.com 

Thank you for stopping by!

Zipper Pulls for Your Projects

brass02

You can decorate your own bag look more charm by adding these zipper sliders to your projects. It is very easy to install and will perfectly fits both #5 metal teeth zipper and #5 molded plastic teeth zipper.

il_fullxfull.765302501_en70

il_fullxfull.765302517_3voe


You can find this zipper at my shop >> ningbags.etsy.com .  This zipper slider is made of  solid zinc and has antique brass finish. Dimensions are 12 mm x 31 mm.

Now orders will ship within 24 hours from Hawaii, USA via USPS First Class mail with delivery confirmation. For domestic orders  over $20 will be upgraded to Priority Mail without additional charge!

Bring style and flair to your #5 zippers by personalizing them with these fancy decorative sliders.

Happy sewing and creating your perfect bag!

Ning Bags is a friendly place for handbag makers who love sewing and being creative. We are now carrying a selection of handbag hardware such as zipper pulls, purse turn locks and unique wood handles specifically chosen. Feel free to have a visit at Ning Bags Shop anytime. Thank you.